
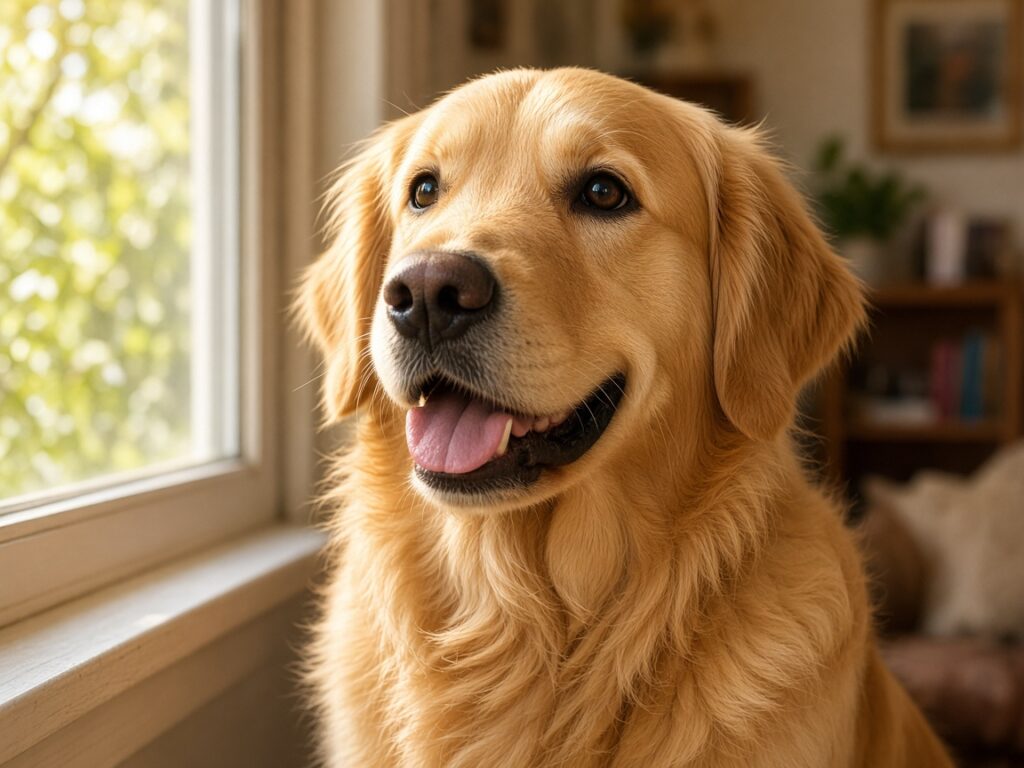
We’ve already written about what makes a good reference photo in general. This post is the hands-on version: a checklist to work through with your phone in one hand and a treat in the other. If you are planning a pet portrait and you have the animal in front of you, a ten-minute photo session can make a bigger difference to the final drawing than anything else you decide.
Before you start: think about the portrait you want
Decide on three things before you pick up the camera:
- Head or full body? A head-and-shoulders portrait shows the face and expression in detail. A full-body portrait shows posture and build but makes the face smaller on the page.
- Which side? Many pets have a “good side”: a white patch over one eye, a folded ear, a scar. Make sure the feature you love is facing the camera.
- What mood? Alert and attentive, sleepy and relaxed, or goofy with the tongue out. Each suits a different kind of portrait.
Light: the most important part
Use daylight, not flash
Flash flattens fur, creates hard shadows behind the animal and often turns eyes into glowing green or red discs. That glow hides the iris completely, and the artist has to guess what the eye really looks like. Turn the flash off.
Find soft, indirect light
The best light is bright but not harsh: near a large window on an overcast day, in open shade outdoors, or in the hour after sunrise or before sunset. Soft light shows fur texture without burning out white patches or hiding dark ones.
Light from the side or front, not behind
If the window or the sun is behind your pet, the face will be in shadow and the outline will glow. That makes a nice photo sometimes, but the face, which is the part that matters, loses its detail. Stand with the light behind you or slightly to one side.
Watch out for dappled light
Sunlight through leaves leaves bright spots and dark patches on the coat. In a drawing those look like markings that aren’t really there.
Angle: get down to their level
Most pet photos are taken from standing height, looking down. That makes the head look large, the legs short and the eyes tilted upward. For a portrait, crouch or sit so the lens is level with your pet’s eyes. For small dogs and cats, that may mean lying on the floor. It is worth it: eye-level photos look like portraits rather than snapshots.
A slight three-quarter turn, with the head turned a little away from straight-on, often shows the shape of the muzzle and the depth of the face better than a dead-straight front view. A perfect profile can be lovely for breeds with a distinctive outline, such as greyhounds or horses.
Focus and resolution
- Tap to focus on the eyes. If the eyes are sharp, a slightly soft ear or tail is fine. If the eyes are blurred, the portrait will struggle.
- Don’t zoom digitally. Pinch-zooming on a phone crops the image and throws away detail. Move closer instead, or use the phone’s optical 2x/3x lens if it has one.
- Use burst mode. Pets move. Hold the shutter to take a quick series and choose the sharpest frame later.
- Turn off portrait mode and filters if they blur the edges of fur or change the colours. The artist needs the raw detail.
Expression: getting the look
An alert, interested expression usually comes from a sound. Squeak a toy, crinkle a treat bag, or say their favourite word right above the camera so they look toward the lens with their ears up. Have a second person do this if you can, so you can concentrate on the photo.
For a calmer, softer look, photograph them after a walk or a meal when they are settled. Some of the most loved portraits show a dog resting its chin on its paws or a cat half-closing its eyes in a sunny spot.
Don’t worry about your pet looking directly at the camera. A gaze off to one side can look thoughtful and natural.
Background and clutter
The artist can leave out the background, so you don’t need a perfect setting. Still, a plain background helps the outline of the animal stand out, especially for dark pets on dark sofas or white pets on white bedding. Contrast between pet and background makes the edges of the fur easier to see.
Collars, harnesses, bandanas and tags can be drawn or left out. Mention what you want when you order. If you want a collar removed, a photo where it doesn’t cover much of the neck fur is helpful, because the artist has to invent whatever is hidden under it.
Send more than one photo
Even when one photo will be the main reference, extra photos help. A close-up of the eyes in good light can show the true iris colour. A photo of the other side can show markings. A photo of the coat in daylight helps judge how dark the fur really is. Mark clearly which photo is the main pose.
When you can’t take new photos
If your pet has passed away or you only have older photos, don’t worry. You can still get a lovely portrait from imperfect photos. Gather everything you have, including blurry ones, because they can show markings or colours. We cover this in more detail in our post on drawing from old or blurry photos.
The checklist
- Flash off, daylight on
- Light behind you or to the side
- Camera at eye level
- Focus on the eyes
- No digital zoom, no heavy filters
- Burst mode for moving pets
- A sound above the lens for an alert look
- Plain background if possible
- Extra close-ups of eyes and markings
- Send the original file, not a screenshot or a photo from a messaging app
That last point catches a lot of people out. Many messaging apps compress photos heavily, so send by email or a file-sharing link if you can. The difference in detail can be enormous, and detail is what a pencil portrait is built from.